Having a camera on your computer has become essential in the current digital era. You’ve come to the right place if you use a MacBook and are unsure how to access your camera. It is easy to open the camera on a MacBook by following a few straightforward steps. Your MacBook camera can be useful for taking a quick picture, video chatting with family and friends, or participating in online meetings.
In this blog, we will guide you through the steps to open the camera on MacBook. We’ll go over the various camera access methods, the settings you must change, and any potential problems you might run into. So let’s get started if you’re ready to start using the camera on your MacBook to take photos and videos.
How To Open Camera In Macbook Air?
If you use a MacBook Air, you can easily open your camera by following a few easy steps. Here’s a stepwise guide to help you open the camera on your MacBook Air:
- Select your Dock’s “Launchpad” icon, which looks like a silver circle with a rocket ship inside.
- On the “Photo Booth” icon, click. The MacBook Air’s default camera access app will launch when you do this: Photo Booth.
- You’ll be able to see a live view of your camera once the Photo Booth app is launched. Then, you can take pictures, record videos, or add filters and effects using the app’s tools.
- You can launch the desired app and access the camera from there if you want to use the camera with another program, such as Zoom or Skype. Most camera apps will instantly recognize and utilize the camera on your MacBook Air.
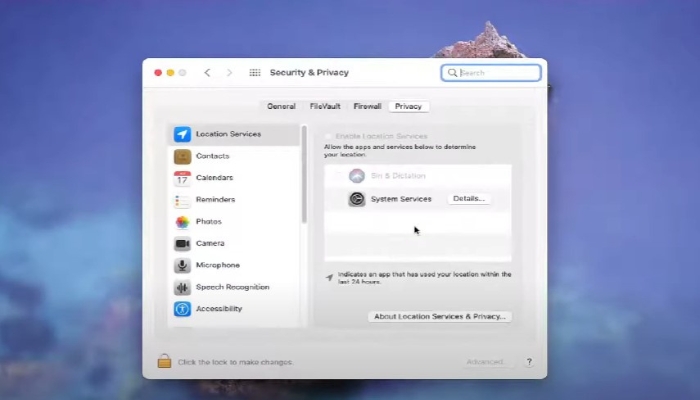
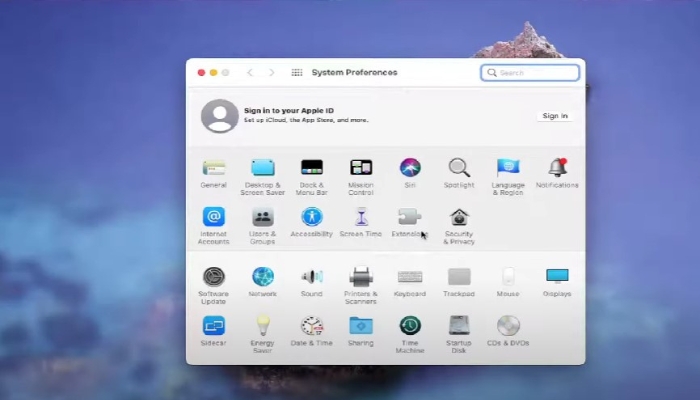
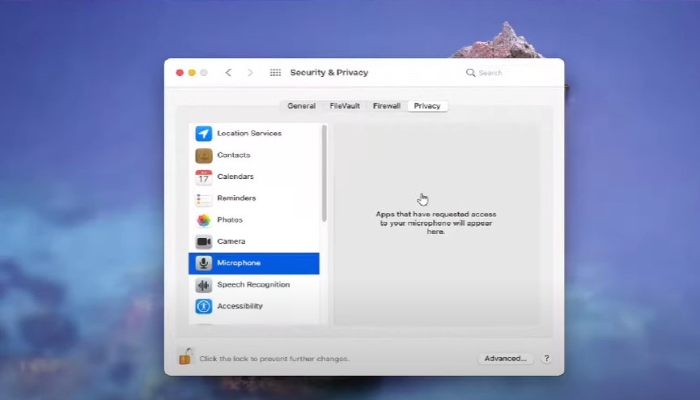
- You may need to check your settings if the camera on your MacBook Air isn’t working. Select “Security & Privacy” under “System Preferences”. When you’re ready, select the “Privacy” tab and check if the app you want to use can access your camera.
You can quickly learn how to open the front camera in Macbook Air and begin using it for various purposes by following these easy steps.
How To Open Camera In Macbook Pro?
A MacBook Pro’s camera opening differs slightly from a MacBook Air’s. Here is a quick tutorial that will show you how to access the camera on your MacBook Pro:
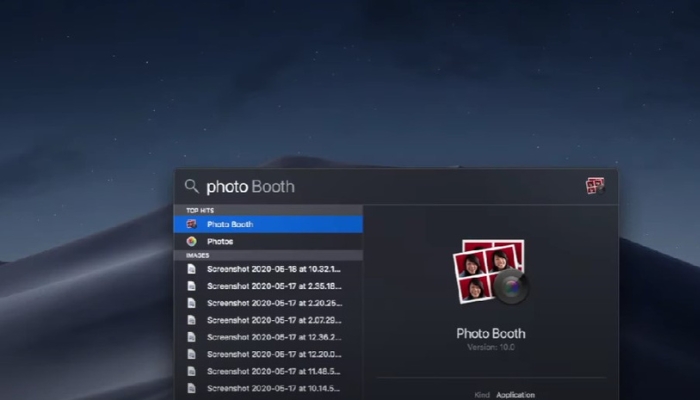
- Click on the “Spotlight Search” icon in the top-right corner of your screen or press “Command + Space” to launch the Spotlight Search.
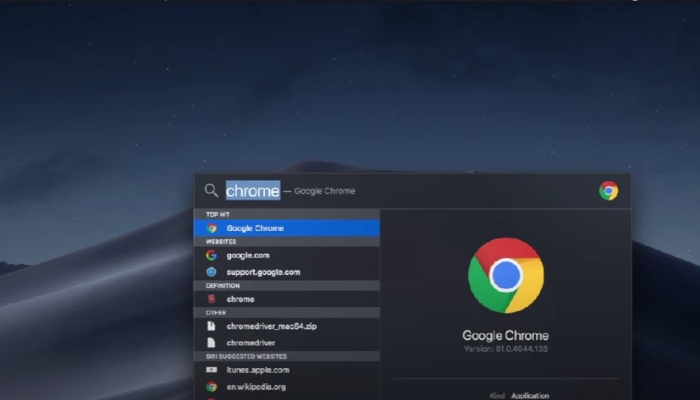
- Type “Photo Booth” in the search bar and hit Enter. This will open the Photo Booth app, the default app used to access the camera on MacBook Pro.
- You’ll be able to see a live view of your camera once the Photo Booth app is launched. Then, you can take pictures, record videos, or add filters and effects using the app’s tools.
- If you want to use the camera for a different app, such as Zoom or Skype, you can open the app and access the camera from there. Most apps that use cameras will automatically recognize and use the camera on your MacBook Pro.

- You may need to check your settings if the camera on your MacBook Pro isn’t working. Select “Security & Privacy” under “System Preferences.” When you’re ready, select the “Privacy” tab and check if the app you want to use can access your camera.
Tips For Using Your Mac’s iSight Camera:
Your Mac’s iSight camera is a potent tool that can be utilized for various tasks. Here are some pointers to help you make the most of your Mac’s iSight camera, whether you’re using it for video conferencing, taking pictures, or recording videos:
- You can change your camera settings by opening the Photo Booth app and selecting the gear icon in the bottom left corner. This will allow you to change the camera’s brightness, contrast, and saturation.
- Use a tripod: A tripod can assist you in stabilizing your camera and ensuring that your shots are steady while recording videos or taking pictures.
- Maintaining a clean camera will improve the quality of your photos and videos. Dust and dirt can collect on camera lenses. Frequent lens cleaning with a microfiber cloth is recommended.
- Utilize natural lighting: Natural lighting can assist you in capturing images and videos with more accurate and vibrant colors. Place your camera near a window or in a well-lit space for best results.
- Utilize keyboard shortcuts to record videos and take pictures more quickly. To take a screenshot or to pick a specific area of your screen to capture, press “Command + Shift + 3” or “Command + Shift + 4” on your keyboard.
- Use third-party applications: Many third-party applications can assist you in getting more from the iSight camera on your Mac. Popular applications include ManyCam, Camtasia, and OBS Studio.
- Be mindful of privacy: Only use your camera for appropriate purposes, and when using your camera, be aware of your surroundings. Always check your camera settings and permissions to ensure you are not unintentionally sharing your camera feed with others.
These pointers will help you make the most of the iSight camera on your Mac and produce beautiful photos and videos.
Frequently Asked Questions:
There could be several causes for the grainy images your MacBook Pro camera is capturing. Low lighting conditions, which can result in the camera producing grainy images, could be one of the causes. A lens on the camera that is dirty or smudged may also be the cause. Try adjusting your lighting or cleaning your camera lens to improve the quality of your pictures.
Launching the Photo Booth application and selecting the gear icon in the bottom left corner lets you change the camera settings on your MacBook Pro. To enhance the quality of your images, you can then change the brightness, contrast, and saturation settings on your camera.
There could be several causes for your MacBook’s camera not to turn on. First, make sure your camera is connected to your MacBook in the right way. Check your camera settings after restarting your MacBook if your camera is built-in. If your camera is external, try unplugging it and plugging it back in or checking for any updates for your camera’s drivers. If none of these solutions work, contact Apple Support for further assistance.
Conclusion
Finally, opening the camera on your MacBook is an easy process that can be completed in a few quick steps. You can use the Photo Booth app or any other app that uses a camera to access the camera, whether you’re using a MacBook Air or MacBook Pro.
Following the steps outlined in this article, you can easily learn how to open the camera in MacBook for various purposes, from video conferencing to taking pictures and recording videos.

I am a Chandan Tewatia and I am the founder of this blog cfindia.net. I have been in the industry for over 10 years and have worked with some of the biggest names in the business. I have a wealth of experience and knowledge to share, and my blog is a platform for me to do just that.
